How to safely pick up a cat after spay
Image source: Bing (Web (fair-use with source credit))
Bringing your cat home after spay surgery feels nerve-wracking. She's groggy, she's got a fresh incision, and suddenly you're terrified to touch her. That's completely normal.
The good news is that picking up a cat after spaying isn't complicated once you understand the safe technique and the healing timeline.
The key is supporting her weight properly while protecting the surgical site. You'll need to change how you lift her for about 10 to 14 days. That means no dangling her front paws, no scooping under the belly, and no letting her jump off the couch on day three.
According to veterinary surgical standards, the abdominal wall needs roughly 10 to 14 days to regain tensile strength after ovariohysterectomy, so your lifting technique matters for the entire recovery window. Let's walk through exactly what to do, what to avoid, and how to read her signals so you both get through this week with minimal stress.
Quick Answer
Place one hand under her chest, just behind her front legs. Slide your other hand beneath her hindquarters, supporting the back legs and belly. Lift slowly and hold her against your body.
Keep her incision away from your forearm. Never let her dangle or kick. Set her down gently by reversing the motion.
Support her rear end until all four paws touch the ground.
Understanding the Spay Incision and Why Positioning Matters
Before you pick her up, you need to understand what's happening inside that tiny little body. A spay, or ovariohysterectomy, isn't just a simple surface cut. The surgeon makes a small abdominal incision, then removes the uterus and ovaries through it.
The muscle wall underneath gets closed with dissolvable sutures, and those internal stitches are what hold everything together while she heals. That's the vulnerable part. The visible skin incision might look like a neat little line, maybe half an inch to an inch long, but the tissue beneath it is where the real healing work happens.
Here's the thing about cat anatomy: their abdominal organs are well-protected by the ribcage from above, but the belly itself is soft and exposed. When you pick a cat up by the scruff or under the front legs, that's fine for a healthy cat because their spine and muscles handle the strain. After surgery though, those abdominal muscles have been cut into.
Any stretch, twist, or dangle of the hind end pulls on those internal sutures. That's why the classic "football hold" where you support the chest and let the back legs hang free is a hard no right now. You need to think of her entire midsection as a fragile bridge.
The front legs are one support beam, the back legs are the other. Your job is to be the foundation underneath so the bridge doesn't buckle.
The incision itself is sealed with surgical glue or skin sutures, but that seal is fragile. Tension is what breaks it open. When you lift her correctly, with support under both the chest and hindquarters, you're keeping the abdominal wall in a neutral position.
When you lift her wrong, say by scooping under the belly with one hand, all the weight of her rear organs presses down on the healing tissue. Give that tissue a straight pulling force, and you risk a seroma, which is fluid buildup under the skin, or worse, a full incision dehiscence where the wound opens up. Neither one is life-threatening alone, but both mean a trip back to the vet and a longer recovery.
Trust me when I say you want to avoid that for both your sakes.
How to Safely Lift Your Cat After Spay Surgery
Now let's get into the actual mechanics. This is a two-person job in the ideal world, but I know most of you reading this are flying solo. That's fine, you can absolutely do this one-handed or with a two-handed approach that gives you full control.
The key is to be smooth, steady, and calm. Cats read your energy, and if you're nervous, she'll feel it and squirm.
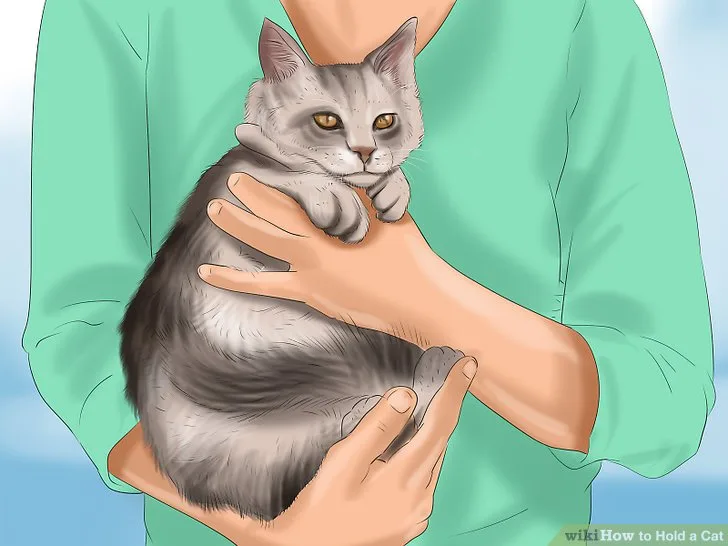
Image source: Bing (Web (fair-use with source credit))
Start with her standing on a stable, non-slip surface. A table or countertop works best because it brings her to a comfortable height, but the floor is fine if you're prepared to bend your knees. Place one hand on her chest, just behind her front legs, with your fingers curling up toward her chin.
Your thumb rests on the side of her chest. This hand isn't doing the heavy lifting yet, it's more of a guide and a brace. Your other hand slides underneath her hindquarters, with your palm cupping her rear and your fingers extending forward along her lower belly.
You want that hand to be a solid shelf that cradles the back end.
Here's the tricky part: you need to coordinate the lift in one smooth motion. Don't grab, don't snatch, and for the love of all things, don't try to pick her up like a human baby with your hands under her armpits. Instead, apply gentle pressure with both hands to let her know you're about to move.
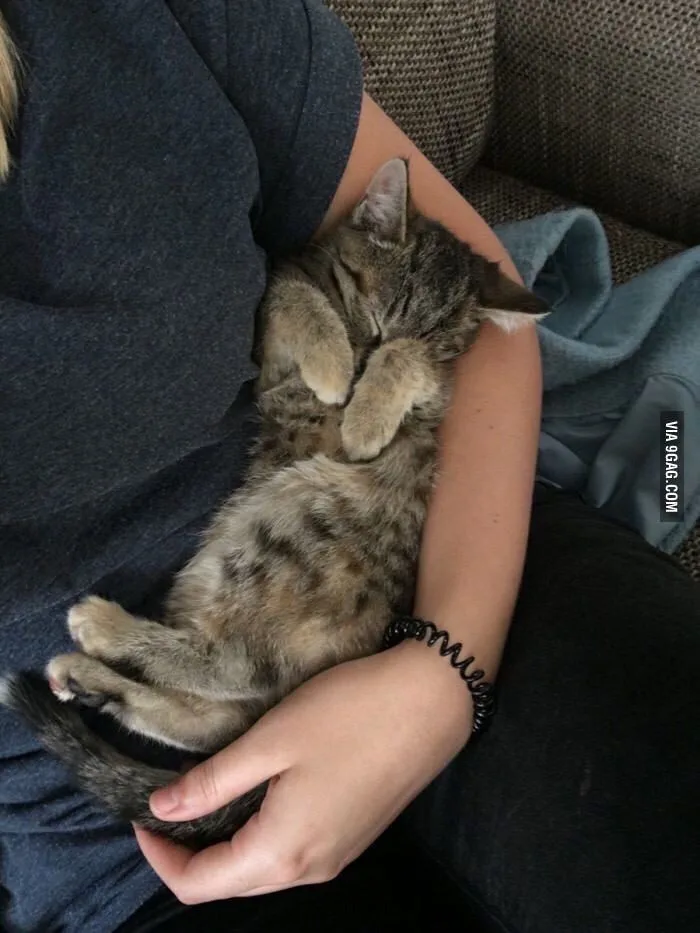
Then, in one fluid motion, lift her up and bring her into your chest. Your forearm should be under her hind legs, and her body should rest diagonally against you. Her front paws can rest on your shoulder or forearm, but her back legs must never be left unsupported.
It helps to imagine you're giving her a full-body hug. The closer she is to your body, the safer she feels, and the less likely she is to struggle.
Setting her down is a reverse of the pick-up. Bend your knees, keep her braced against your chest, and lower her straight down. Don't lean over and place her, you'll end up dropping her.
Let her back feet touch the surface first, then her front feet, and keep your hands on her for a second until she's steady. If she decides to bolt the second she's down, don't react by holding tighter. Just let her go.
She's telling you she's done being held, and forcing the issue will only make the next pick-up harder.
Alternatives to the E-Collar: Recovery Suits and Onesies
The e-collar, or the cone of shame as we all call it, is the default recommendation from most vets. But here's the reality check: cats hate them, they get stuck on furniture, and they can't eat, drink, or use the litter box without help. The good news is that the cone isn't your only option.
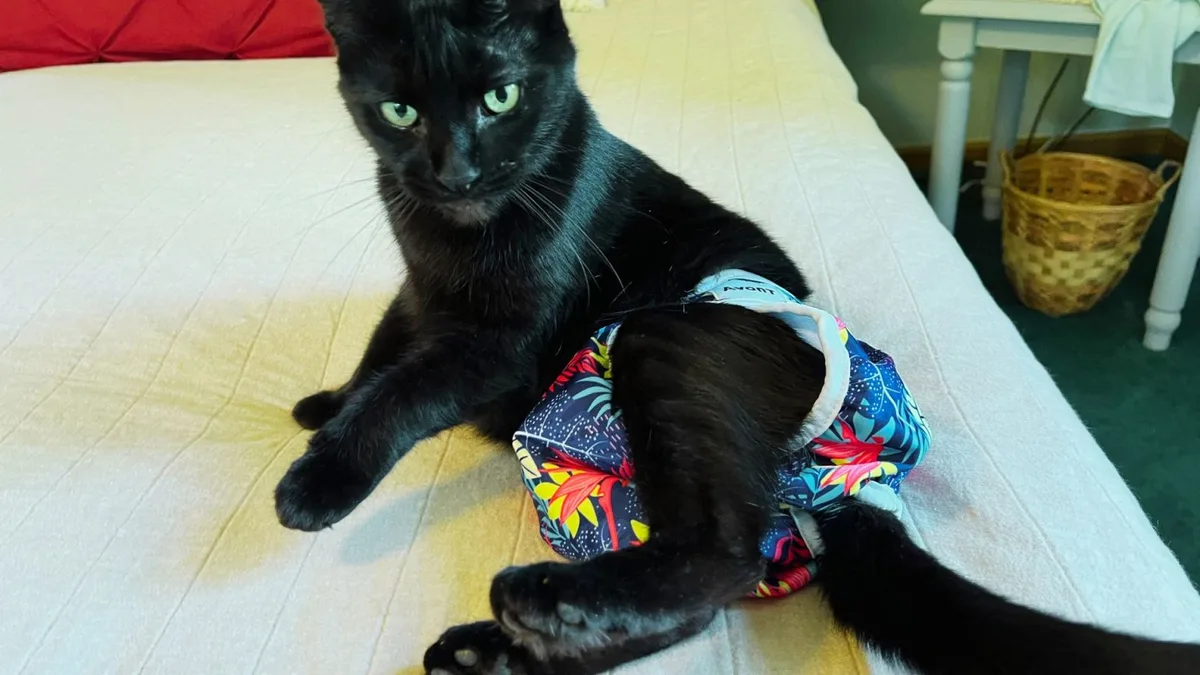
A recovery suit, sometimes called a surgical onesie, is a comfortable alternative that covers the incision while leaving the head free. These are typically soft cotton or breathable fabric that fasten around the torso with snaps along the back, much like a dog's bodysuit. They work because the fabric acts as a physical barrier.
No sutures to lick, no wound to worry about, and your cat can still see, hear, eat, and move around normally.
If a recovery suit isn't in the budget, a plain baby onesie with a few strategic modifications works just as well. Look for a short-sleeve or convertible model in a size that fits snugly around her torso. Snip a small opening at the tail with fabric scissors so she can use the litter box without soiling the suit.
The instructions are simple: put her front legs through the armholes, zip or snap it up the back, and adjust the tail hole so nothing gets twisted. This DIY approach has been around for years, and aggregate owner reviews report it's just as effective as commercial suits at preventing incision licking, provided your cat's a little escape artist.

Image source: Bing (Web (fair-use with source credit))
Here's where you need to be honest about your cat's temperament. Some cats are champs about the cone and barely react. Others turn into furry Houdinis the second you put any fabric on them.
If your cat is a chronic stress groomer or has shown a strong reaction to the cone, try her in a recovery suit for an hour while you're home. If she's freezing up, dragging herself around, or trying to gnaw through the fabric at the seam, the suit isn't a viable option, and you should stick with the e-collar. The goal is to find something she can eat, drink, and sleep in without your supervision.
The moment she starts trying to groom through the fabric, the suit has to go.
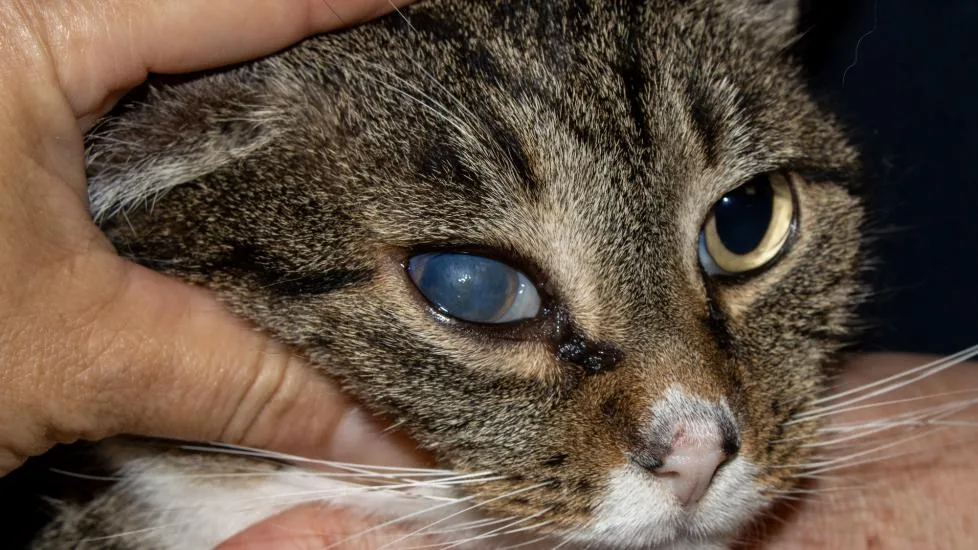
During this two-week recovery period, you'll want to check the incision twice a day for excessive licking, swelling, or discharge. Per veterinary best practices, a small amount of redness and swelling is normal in the first 24 to 48 hours. What's not normal is persistent bleeding, pus, or a swollen, painful belly that makes her cry when you touch her.
If you see any of those signs, that's a reason to call the vet, not a reason to try another treatment at home.
The 14-Day Recovery Timeline: What to Expect Each Day
Your cat's recovery is not a straight line. Day one, she's exhausted and out of it from the anesthesia. Day two, she's friskier and acting like she's fine.
That's a trap. The surgical incision is starting to heal, and new tissue is forming, which itches and pulls. You'll see her trying to groom more around the incision site, and that's normal.
Keep the cone or suit on, and enforce rest as best you can. This is the hardest part of owning a recovering cat: convincing a creature that routinely scales curtains that she needs to take it easy.
Here's a rough timeline to guide you. Days 1 to 3 are the highest risk for complications. The anesthesia is out of her system, she's back to eating and drinking normally, and she might be more restless than you'd expect.
Limit her environment to one room, ideally a quiet room with a low-sided litter box and easy access to food and water. No climbing, no jumping, and no running. Days 4 to 7, the incision should be closing nicely.
The skin edges are sealed together, and you might notice a small bruise or slight swelling. That is normal. What is not normal is a heat in the area, which could signal an infection.
Days 8 to 14, the sutures are dissolving, and the surgical site looks almost healed. Many vets clear cats for normal activity around the 10- to 14-day mark, but that's a guideline, not a green light to start parkour training. If your cat licks the incision site during this late phase, that's the most common time for a setback.
Kept her sleepy and quiet is a success story. Managed to pull a suture and needed an emergency vet visit because you thought she wasn't paying attention? That's a mistake you'll only make once.
The average recovery time is two weeks, and that's the same whether you have a wild high-energy kitten or a lazy senior cat. The difference is how diligent you are about enforcing the rules. Per the American Veterinary Medical Association's guidelines, surgical site complications are most often caused by patient behavior rather than surgical error, which should tell you how much power you have in this situation.
You are the most important checkpoint in her rehabilitation, so don't drop the ball when she's acting chirpy on day five and bomb-proofing the living room furniture looks oddly appealing in that moment.

Similar Posts